
What Is True Tone Display? iPhone, MacBook, and iPad Guide
True Tone is an Apple display feature that adjusts the colour and intensity of the screen based on the light around you. Instead of keeping the display at one fixed white balance all day, True Tone uses sensors to make the screen appear warmer, cooler, brighter, or softer depending on the room, desk, window light, or outdoor setting.

The goal is simple: white areas on the screen should feel more like white paper in the room you are actually in. Under warm indoor lighting, the display may look slightly warmer. Under cooler daylight or office lighting, the display may look cooler. The change is usually subtle, but it can make reading, browsing, messaging, and document work feel more natural.
True Tone is available across many iPhone, iPad, and MacBook models. It is most useful for daily viewing, reading, office work, web browsing, and general use. It is less ideal when you need a fixed display profile for colour-sensitive work such as photo editing, video grading, print design, or product colour checking.
How True Tone works
Every room has a different colour temperature. A lamp with a warm bulb can make white paper look yellowish. A bright window on a cloudy day can make the same paper look cooler. Our eyes adjust to these changes naturally. A fixed display does not always do that on its own, which is why a screen can look too blue at night or too warm in some rooms.
True Tone uses ambient light sensors to read the surrounding light and adjust the display. On a supported device, the change can affect white balance and screen intensity. It does not replace brightness control, Night Shift, colour filters, or manual display calibration. It is an automatic display adjustment that runs in the background.
You can turn it on or off. Some people prefer the softer look for everyday use. Others prefer the fixed look with True Tone off, especially if they are comparing photos, checking a product colour, or using a device beside another display that does not support the same adjustment.
True Tone vs Night Shift
True Tone and Night Shift are often confused, but they are not the same feature. True Tone reacts to the lighting around you throughout the day. Night Shift is a scheduled colour-temperature feature that makes the screen warmer during evening or night hours.
True Tone is about matching the display to the room. Night Shift is about reducing cooler-looking screen light at certain times. You can use both together. If both are enabled at night, the screen may look noticeably warmer than it does during the day.
| Feature | What it does | Best use |
|---|---|---|
| True Tone | Adjusts screen colour and intensity to match ambient light. | Everyday reading, browsing, messaging, and general viewing. |
| Night Shift | Warms the display based on schedule or sunset timing. | Evening use, night reading, and reducing cooler-looking screen tones. |
| Manual brightness | Changes how bright the screen is. | Visibility in bright rooms, dark rooms, outdoors, and battery management. |
| Colour filters | Applies accessibility colour adjustments. | Visual accessibility needs and personal display preferences. |
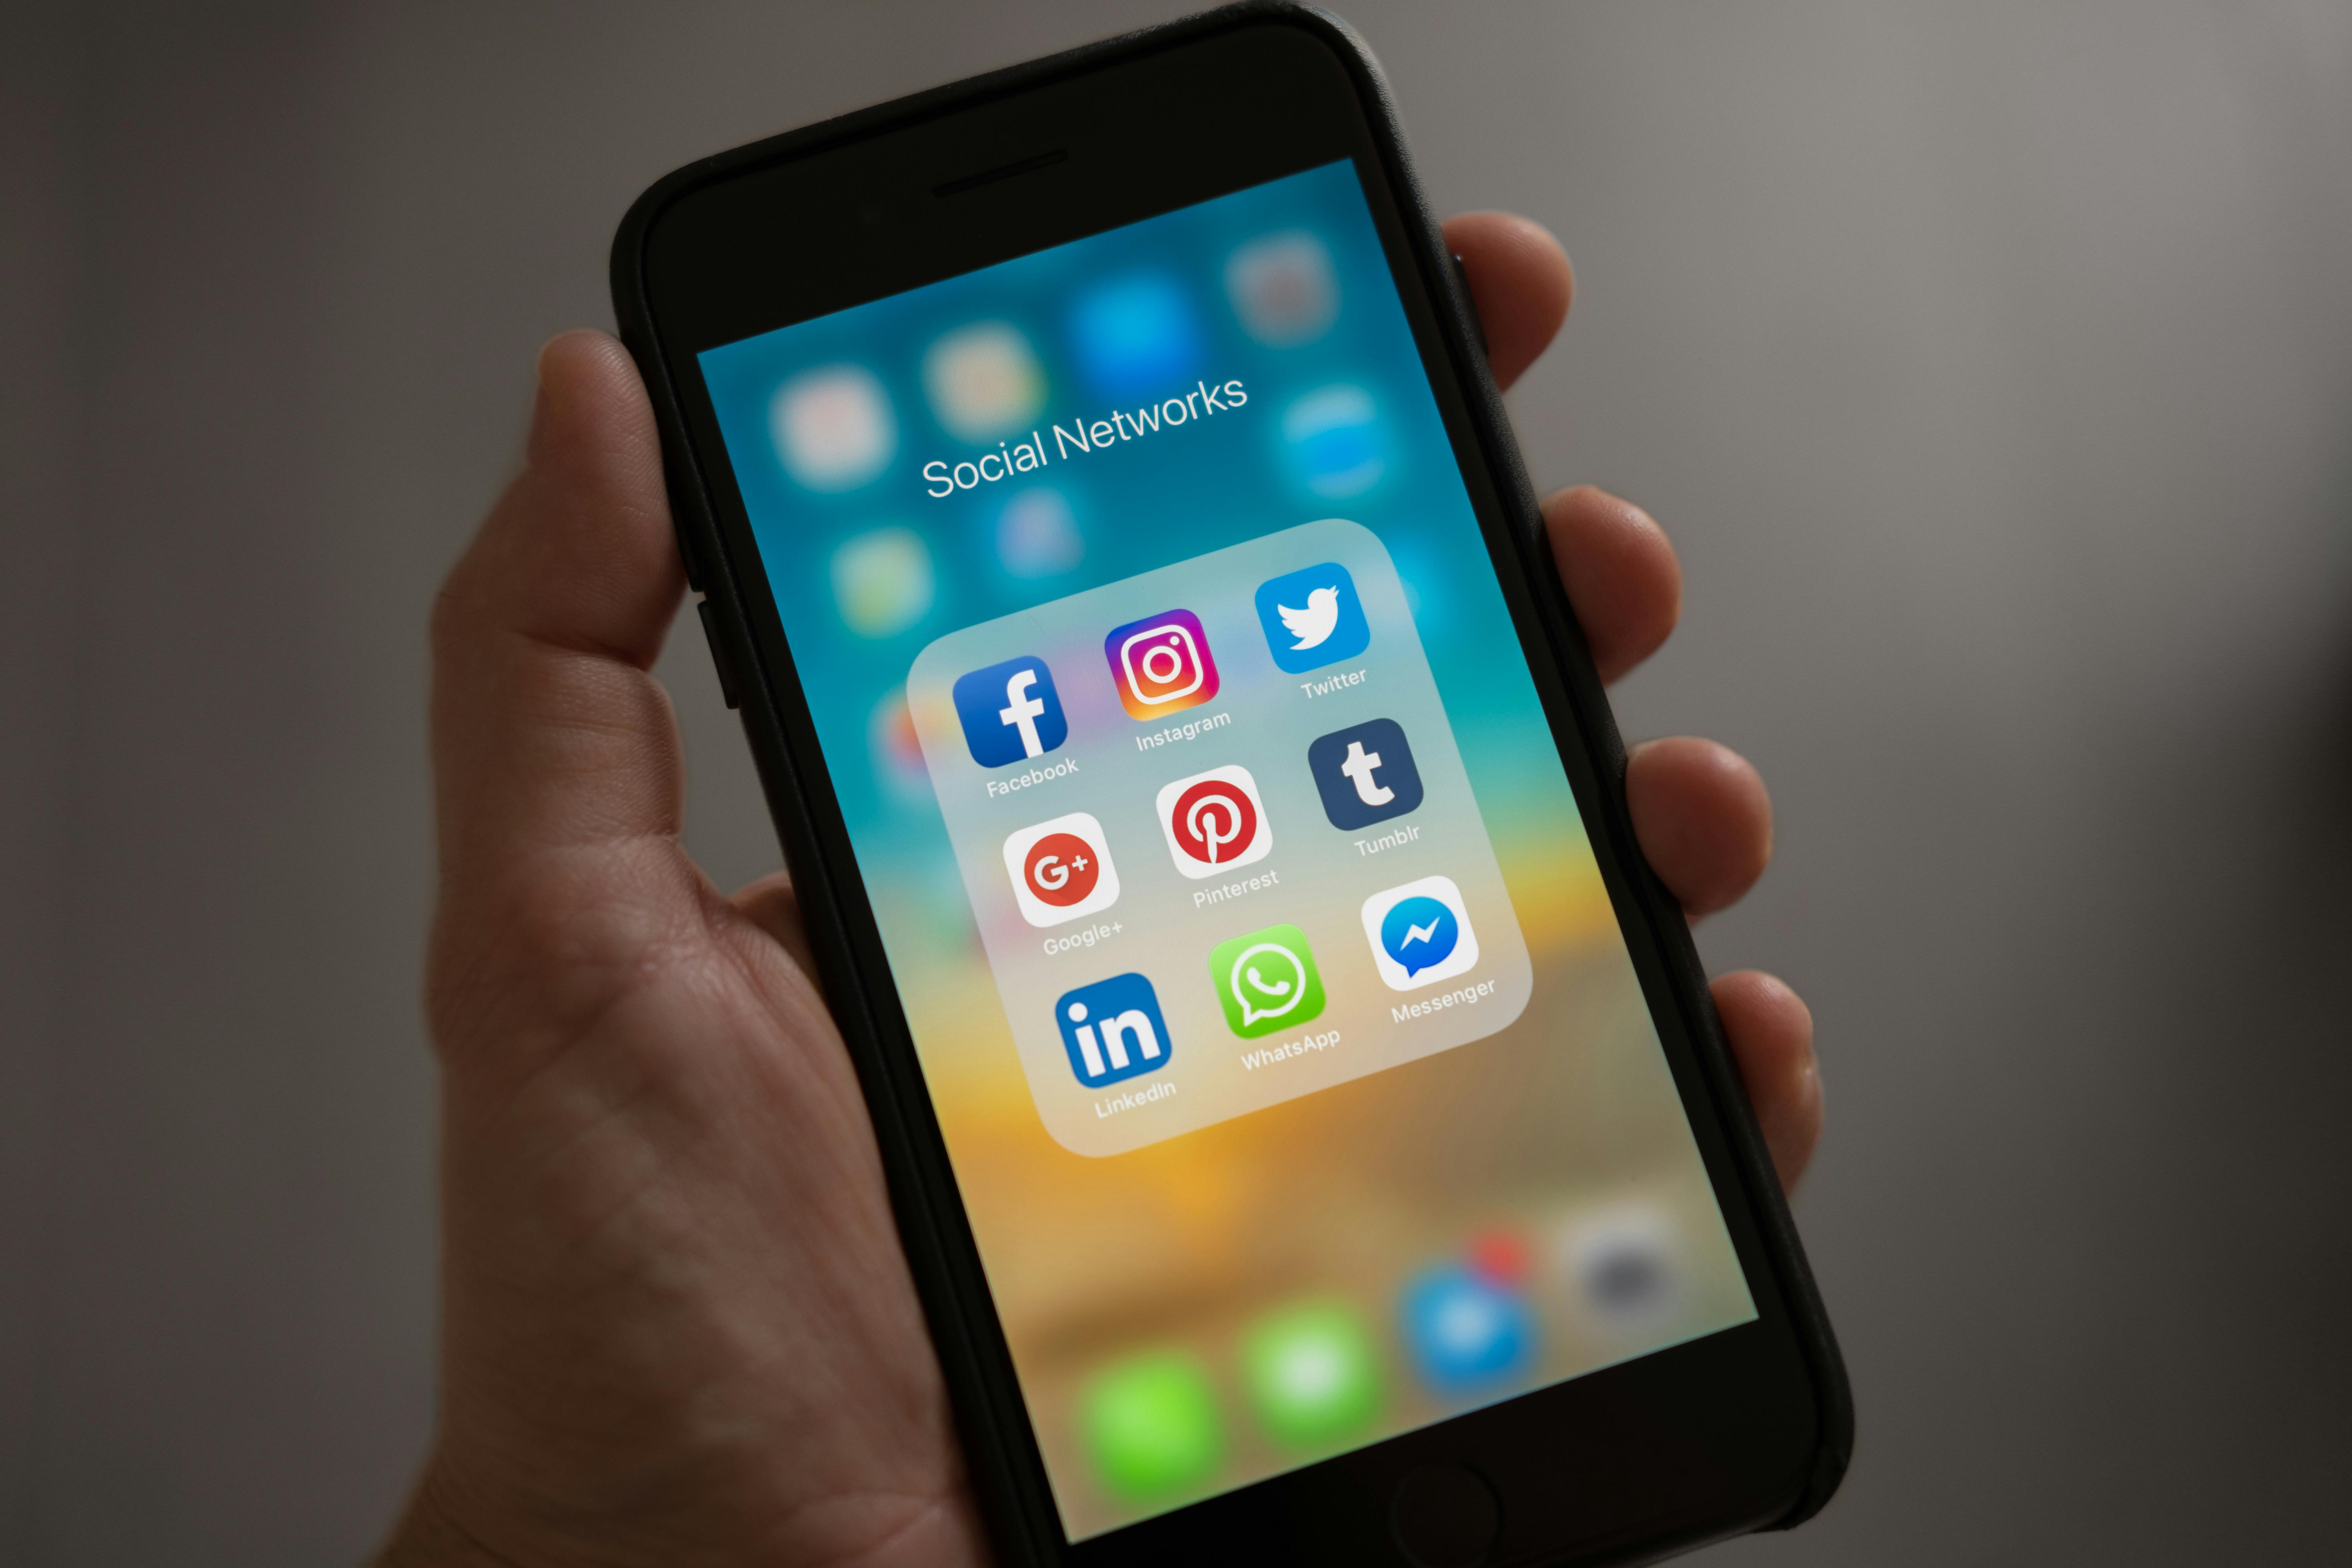
What is True Tone display on iPhone?
On iPhone, True Tone adjusts the display so everyday content looks more natural in different lighting. Apple added True Tone to the iPhone line with iPhone 8, iPhone 8 Plus, and iPhone X, and it has continued across later iPhone models. If you are buying a used iPhone, True Tone is one of the display features worth checking.
Real-world example: if you read messages in a living room at night under warm lamps, an iPhone with True Tone enabled may make white backgrounds look less stark. If you step outside or sit by a window, the same iPhone may shift the display so it looks more consistent with daylight.
Another example is shopping or browsing product photos. True Tone can make the screen more comfortable to look at, but it can also change how whites and colours appear. If you are checking the exact shade of a case, clothing item, wallpaper, or product image, it can be useful to turn True Tone off temporarily.
True Tone can also affect how the iPhone looks beside another phone. If one iPhone has True Tone on and another has it off, the two screens may not match even if both displays are working normally. One may look warmer or more yellow. The other may look cooler or more blue. That does not automatically mean one screen is defective.
How to turn True Tone on or off on iPhone
On iPhone, go to Settings, then Display & Brightness, then turn True Tone on or off. You can also open Control Center, press and hold the brightness slider, and use the True Tone button if it appears on that device.
True Tone display on iPhone for used buyers
When buying a used iPhone, check whether True Tone appears in Display & Brightness. If the device supports True Tone but the option is missing, the display may have been replaced, the repair may not have been completed correctly, or the device may have another display-related issue. It is not the only way to judge a used iPhone, but it is a useful screen check.
Also check brightness, touch response, colour uniformity, Face ID or Touch ID, battery health, cameras, speakers, charging, and parts and service history where available. If you are comparing used iPhones, browse our used iPhone collection and check each listing for model, storage, condition, and battery details.
What is True Tone display on MacBook?
On a MacBook, True Tone adjusts the built-in display to match the ambient light around the laptop. It is useful because MacBooks move between many lighting environments: office desks, classrooms, coffee shops, kitchens, bedrooms, and travel setups. A display that looks comfortable in one place can look too cool or too warm somewhere else.
Real-world example: if you use a MacBook Air in a classroom with bright overhead lights, True Tone may keep white document pages from looking overly blue. If you later use the same MacBook at home under warmer lighting, the display may shift warmer so a web page or document feels closer to the room lighting.
Another example is using a MacBook at a desk beside an external monitor. True Tone may make the MacBook display look different from the external screen. Some Apple external displays support True Tone, and some non-Apple external monitor setups may be adjusted by compatible Macs in certain conditions. If matching screens is important, compare them with True Tone both on and off.
For general office work, reading, writing, email, spreadsheets, browsing, and video calls, True Tone is often comfortable. For photo editing, design files, print proofing, or colour comparison, it is usually better to turn it off and use a consistent display setup.
How to turn True Tone on or off on MacBook
On macOS Ventura or later, open System Settings, choose Displays, select the display, and turn True Tone on or off if the option appears. On earlier macOS versions, use System Preferences and the Displays settings. If the True Tone option does not appear, that display or setup may not support it.
True Tone display on MacBook for used buyers
When buying a used MacBook, check the display in several ways. Look for brightness, colour consistency, pressure marks, backlight issues, dead pixels, keyboard marks on the screen, hinge feel, camera function, and whether True Tone appears in the display settings on models that support it.
A missing True Tone option does not always tell the full story on its own, but it can be a signal to inspect the screen more carefully. If a MacBook has had a display replacement, ask whether it used a genuine part and whether the repair was completed through a proper service process. If you are comparing replacement options, browse our used computers collection and check each MacBook listing for model year, chip, memory, storage, battery condition, and screen condition.
What is True Tone display on iPad?
On iPad, True Tone is especially useful because people use iPads in many positions and lighting conditions. An iPad may be used flat on a desk, held in bed, propped up in a kitchen, carried to class, used for drawing, or placed beside a laptop as a second screen. True Tone helps the display adapt as the lighting changes.
Apple introduced True Tone on iPad with the 9.7-inch iPad Pro in 2016. That model used sensors to adjust white balance for a more paper-like viewing experience. Since then, True Tone has appeared across many later iPad Pro, iPad Air, iPad mini, and standard iPad models.
Real-world example: if you read an ebook or recipe on an iPad in a warm kitchen, True Tone may make the white page look less harsh. If you move the same iPad to a bright desk near a window, the screen may adjust again so the page looks more natural in daylight.
Another example is note-taking. If you use Apple Pencil on an iPad Air or iPad Pro under classroom lighting, True Tone can make white note pages look more like paper. If you are choosing colours for artwork, editing photos, or matching a design to a brand colour, turning True Tone off gives you a more fixed display view.
How to turn True Tone on or off on iPad
On iPad, open Settings, choose Display & Brightness, and turn True Tone on or off if the option is available. You can also use Control Center by pressing and holding the brightness slider and selecting True Tone where supported.
True Tone display on iPad for used buyers
For used iPads, True Tone is one part of the display inspection. Check whether the option appears on supported models, then inspect the screen for brightness, colour, touch response, Apple Pencil response where relevant, pressure marks, scratches, and edge lifting. Also check battery performance, charging, speakers, cameras, Wi-Fi, storage, and whether the model still supports the apps you plan to use.
If your main use is reading, school, note-taking, or media, True Tone can be a useful comfort feature. If your main use is drawing, photo edits, or colour-sensitive work, you may prefer to leave it off while working. If you are comparing models, browse our used iPad collection and check the model, storage, condition, and accessory support.
True Tone and aftermarket screens
Aftermarket screens need extra attention because True Tone depends on the display, sensors, calibration, and repair process. A replacement screen may work for basic touch and viewing but still have differences in brightness, white balance, colour accuracy, uniformity, or sensor behaviour. True Tone may be missing, may not work correctly, or may behave differently from an original display.
On iPhone, Apple notes that non-genuine display parts can cause display brightness and colour issues, including True Tone not working correctly, ambient light sensor performance being lost or degraded, colour calibration issues, lower maximum brightness, uneven brightness, and unintended battery drain. Those issues do not happen with every replacement, but they are practical checks for buyers.
If you are buying a used iPhone, iPad, or MacBook and the screen has been replaced, ask what type of part was used and who performed the repair. A lower-priced device with an aftermarket screen may still be useful, but the price should reflect the display condition and feature support. For reading, messaging, and basic use, a good replacement display may be acceptable. For colour work, resale value, or long-term reliability, a properly serviced genuine display is generally safer.
How to test True Tone before buying
Start by checking whether the device model supports True Tone. Then open the display settings and look for the True Tone toggle. Turn it on and off in a room with normal lighting. The screen should shift subtly. If nothing changes, test again in a different lighting environment, such as near a window or under a warm lamp.
Next, compare the screen with a white page open. A blank note, browser page, or settings screen works well. Turn True Tone on and off and look for a warm or cool shift. Also adjust brightness manually and confirm that auto-brightness behaves normally over time. If the display looks very yellow, very blue, uneven, dim, or inconsistent, inspect it more carefully.
Finally, check for repair indicators. On supported iPhones, look at Parts and Service History in Settings, General, About. On iPads and MacBooks, ask for repair history when available and inspect the screen physically. True Tone is helpful, but it should be evaluated together with the whole device.
Should you leave True Tone on?
Most people can leave True Tone on for everyday use. It is useful for reading, writing, browsing, email, messaging, and casual video watching. It can make the device feel more comfortable in changing light.
Turn it off when colour consistency is more important than comfort. That includes editing photos, comparing product colours, checking website colours, preparing print files, grading video, or using two displays that need to match closely.
| Situation | Suggested setting | Reason |
|---|---|---|
| Reading articles or books | On | Can make white backgrounds look more natural in the room. |
| Messaging and general browsing | On | Useful for mixed indoor and outdoor lighting. |
| Photo editing | Off | Keeps the display colour more consistent. |
| Product colour comparison | Off | Reduces automatic colour shifts while comparing items. |
| Using several displays side by side | Test both | True Tone may make one display look different from another. |
| Checking a used device | Test on and off | Confirms whether the feature appears and whether the display changes normally. |
Final thoughts
True Tone is a display comfort feature. It adjusts an iPhone, MacBook, or iPad screen so the display responds to the lighting around you. For everyday use, it can make the screen feel more natural. For colour-sensitive work, it is often better to turn it off.
For used buyers, True Tone is also a helpful display check. If a supported iPhone, MacBook, or iPad does not show the option, or if the screen colour looks unusual, inspect the device more carefully and ask about repair history. It is not the only display detail to check, but it is a useful part of the buying process.